
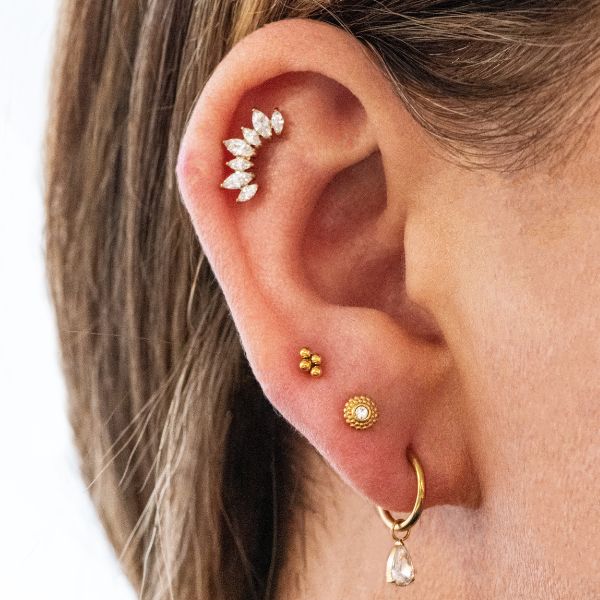
Congratulations on your new piercing! Find out how to care & clean your new piercing to help it heal quickly and fully.
The 3 Stages of Healing
Stage 1 – immediately after you get your piercing you will likely notice swelling, redness and it may feel warm. This is your bodies natural reaction to a wound (your new piercing).
Stage 2 – the swelling should reduce and you may notice clear or pale yellow fluid around your piercing, this is lymph fluid produced by your body as a normal part of the healing process. You may notice some dry areas ‘crusties’ forming around your piercing, this is dried lymph fluid that should be removed during the cleaning process.
Stage 3 – Your piercing may look like it’s healed in a month or two as new skin has formed around your piercing. But be patient, your piercing is still healing on the inside and continues to need your care and attention over the coming months. Some piercings can take a year or more to properly heal.
There are many factors that could prolong the healing period like being unwell, or very stressed as your body needs to divert resources to help you recover.
n.b. during the healing stages it’s quite possible that you may go back and forth between stages. For example, if you snag your jewellery on something, that could set you back a stage.
How To Clean Your New Piercing
Wash your hands thoroughly with anti-bacterial soap before you touch your piercing.
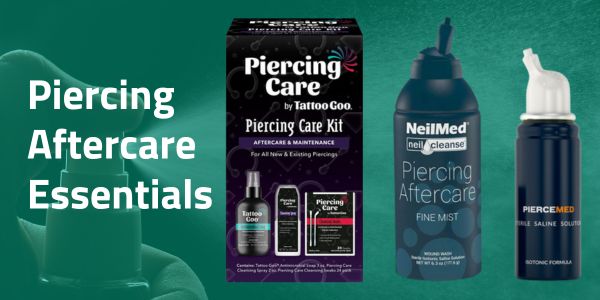
Clean your piercing with a sterile saline solution. The easiest way to do this is to use a piercing spray like Piercemed or Neilmed.
Additionally, you can also make your own saline solution by boiling a pint of water and adding 1/2 a level teaspoon of sea-salt, then allowing this to cool before use.
Repeat this process twice a day; morning and evening. Don’t over clean your piercing as this could cause irritation or infection.
‘Crusties’ if you find you have a crust forming around your piercing, you should remove this gently by soaking it with the sterile solution.
It’s important to let your piercing dry thoroughly after cleaning. The quickest way to do this is with a hand fan.
For an easy all in one kit, our Tattoo Goo Piercing Aftercare Kit contains everything you need to care for your new piercing. Soap, sterile spray & cleansing swabs for on the move cleaning.
Top 5 Things NOT to Do With Your New Piercing
1.Don’t touch your piercing unnecessarily, no pulling or twisting your piercing jewellery.
2.Avoid sleeping on your piercing. A piercing pillow with a hole in the middle or a travel pillow can be useful to avoid sleeping on ear piercings during the healing process.
3.Try not to sleep with wet hair, best to tie it up and keep away from the piercing site.
4.Be mindful of wearing anything that could cause pressure to your piercing like headphones, ear buds etc.
5.In the first few weeks after your piercing limit exposure to water like swimming in pools as chemicals may irritate your piercing; lakes and oceans may harbour bacteria.
5 Steps To Quick Piercing Healing
1.Good hygiene is important, bacteria is everywhere. Simple things like not touching your piercing with dirty hands, changing your bedding & towels regularly. Cleaning your hands after touching your pets & keeping yourself and your surroundings clean will promote good piercing healing.
2.Clean away products like makeup, fake tan, moisturiser and hair products from your piercing to promote healthy healing.
3.Keep healthy, a balanced and nutritious diet will help your body fight infection and promote healing. It’s your body that heals the piercing, the aftercare cleaning and good personal hygiene help your body to heal your piercing more quickly.
4.Avoid drinking excessive amounts of alcohol, this could lead to aggravating your new piercing.
5.Try to avoid wearing tight clothing that could cause pressure to your piercing.
If you’re looking for information on how to care for your new oral piercing check out our info hub.